弊社開発の品質向上には常に悩んでいます。腐ったソースコード、見直しなくリファクタリングなしのコード、メインテナンス性が悪い、解読が難しい…多々あります。上司からの注意だけじゃ、変わらないし、またエンジニア個人の差もあるし、全部注意できません。それに新人が入った時には、またとんでもないコードを書くかもしれません。そんな状態をなんとか脱したいと思って、GITLABを入れたいと思いました。GITLABは基本的にGITHUBと同じものです。そのまま、世界で採用されているGITHUB FLOWを利用できます。
今回はGITLABをインストールした手順を解析します。
もともと弊社ではRedmine1.3を使っています。Backlogsプラグインを入れてアジャイル開発手法でプロジェクトの進捗を管理しています。とても満足しています。今後も使い続けたいと思っています。しかし、Redmine1.3を動かすのは標準のRuby1.8がすでに入っています。GITLAB6.9はRuby2.0以上を必要としています。仕方がなく、別途でRuby2.0をソースコードからビルドしてインストールことにしました。
下記GIT PPAを追加してから、バージョンアップ
sudo add-apt-repository ppa:git-core/ppa
sudo apt-get update
sudo apt-get install git
確認しますと
git --version
git version 2.0.1
GITLABは内部にREDISサーバーを使っていますので、REDISもインストールします。
sudo apt-get install redis
/etc/init.d/redis-server start
Ruby2.1でも良いですが、なんとなくRuby2.0を入れます。
wget http://cache.ruby-lang.org/pub/ruby/2.0/ruby-2.0.0-p481.tar.gz
tar xvf ruby-2.0.0-p481.tar.gz
cd ruby-2.0.0-p481/
./configure --prefix=/usr/local/ruby-2.0.0 --disable-install-rdoc
make
sudo make install
確認しますと下記のような結果です。
/usr/local/ruby-2.0.0/bin/ruby -v
ruby 2.0.0p481 (2014-05-08 revision 45883) [i686-linux]
その後、bundlerをインストールします。
sudo /usr/local/ruby-2.0.0/bin/gem install bundler --no-ri --no-rdoc
gitユーザーを作成し、editor環境を設定します。
sudo adduser --disabled-login --gecos 'GitLab' git
sudo apt-get install -y vim
sudo update-alternatives --set editor /usr/bin/vim.basic
GITLAB CEをインストールします。その後各種ファイル設定を自分の環境に合わせてください。
cd /home/git
sudo -u git -H git clone https://gitlab.com/gitlab-org/gitlab-ce.git -b 6-9-stable gitlab
cd gitlab/
sudo -u git -H cp config/gitlab.yml.example config/gitlab.yml
sudo -u git -H editor config/gitlab.yml
sudo chown -R git log/
sudo chown -R git tmp/
sudo chmod -R u+rwX log/
sudo chmod -R u+rwX tmp/
sudo -u git -H mkdir /home/git/gitlab-satellites
sudo chmod u+rwx,g=rx,o-rwx /home/git/gitlab-satellites
sudo chmod -R u+rwX tmp/pids/
sudo chmod -R u+rwX tmp/sockets/
sudo chmod -R u+rwX  public/uploads
sudo -u git -H cp config/unicorn.rb.example config/unicorn.rb
sudo -u git -H editor config/unicorn.rb
sudo -u git -H cp config/initializers/rack_attack.rb.example config/initializers/rack_attack.rb
sudo -u git -H git config --global user.name "GitLab"
sudo -u git -H git config --global user.email “git@dev.co-mit.com”
sudo -u git -H git config --global core.autocrlf input
sudo -u git cp config/database.yml.mysql config/database.yml
sudo -u git -H editor config/database.yml
sudo -u git -H chmod o-rwx config/database.yml
弊社環境では、各種設定ファイルの内容変更は以下となります。
git@www1167uf:~/gitlab/config$ diff unicorn.rb unicorn.rb.example
37c37
< timeout 300
---
> timeout 30
timeoutは30のままだと、Error 502が出てしまいます。GITLAB自体は起動できなくなります。
つぎにGITLAB環境設定をします。
sudo apt-get install libicu
sudo apt-get install libicu-dev
sudo /usr/local/ruby-2.0.0/bin/gem install charlock_holmes --version '0.6.9.4' --no-ri --no-rdoc
sudo -u git -H /usr/local/ruby-2.0.0/bin/bundle install --deployment --without development test postgres aws
sudo -u git -H mkdir -p /home/git/repositories/root
sudo -u git -H env PATH=/usr/local/ruby-2.0.0/bin:$PATH /usr/local/ruby-2.0.0/bin/bundle exec rake gitlab:setup RAILS_ENV=production
sudo -u git -H env PATH=/usr/local/ruby-2.0.0/bin:$PATH /usr/local/ruby-2.0.0/bin/bundle exec rake assets:precompile RAILS_ENV=production
sudo cp lib/support/init.d/gitlab.default.example /etc/default/gitlab
sudo cp lib/support/init.d/gitlab /etc/init.d/
sudo /etc/init.d/gitlab start
起動できるためには、/etc/init.d/gitlabファイルを下記のPATHを追加しないといけません。
export PATH=/usr/local/ruby-2.0.0/bin:$PATH
つぎにはNGINXの設定をします。
sudo cp lib/support/nginx/gitlab /etc/nginx/sites-available/gitlab
sudo ln -s /etc/nginx/sites-available/gitlab /etc/nginx/sites-enabled/gitlab
sudo vi /etc/nginx/sites-available/gitlab
/etc/init.d/nginx restart
後はgitユーザーのPATH環境も/usr/local/ruby-2.0.0/binを先に見れるように設定してあげたほうがいいですね。今回のインストールは標準のrubyを使わずに、別途のrubyを使っているからPATHの指定が間違ったらコマンドを実行できません。
GITLAB SHELLをインストールします。
sudo -u git -H git clone https://github.com/gitlabhq/gitlab-shell.git
cd gitlab-shell/
sudo -u git -H git checkout v1.9.5
sudo -u git -H cp config.yml.example config.yml
sudo -u git -H editor config.yml
sudo -u git -H env PATH=/usr/local/ruby-2.0.0/bin:$PATH ./bin/install
sudo /etc/init.d/gitlab restart
各種RUBYパスを正しく反映させる必要があります。
hooksのupdateスクリプトを変更
git@www1167uf:~/gitlab-shell/hooks$ diff update update.orig
1c1
< #!/usr/local/ruby-2.0.0/bin/ruby
---
> #!/usr/bin/env ruby
~/.ssh/environmentにRUBYパスを追加
PATH=/usr/local/ruby-2.0.0/bin:/usr/local/sbin:/usr/local/bin:/usr/sbin:/usr/bin:/sbin:/bin:/usr/games
まずはGITLAB環境を確認します。
/usr/local/ruby-2.0.0/bin/bundle exec rake gitlab:env:info RAILS_ENV=production

System information
System:     Ubuntu 12.04
Current User:   git
Using RVM:  no
Ruby Version:   2.0.0p481
Gem Version:    2.0.14
Bundler Version:1.6.2
Rake Version:   10.3.1
Sidekiq Version:2.17.0

GitLab information
Version:    6.9.2
Revision:   e46b644
Directory:  /home/git/gitlab
DB Adapter: mysql2
Using LDAP: no
Using Omniauth: no

GitLab Shell
Version:    1.9.5
Repositories:   /home/git/repositories/
Hooks:      /home/git/gitlab-shell/hooks/
Git:        /usr/bin/git
問題なさそうですので、いよいよGITLAB画面をアクセスします。
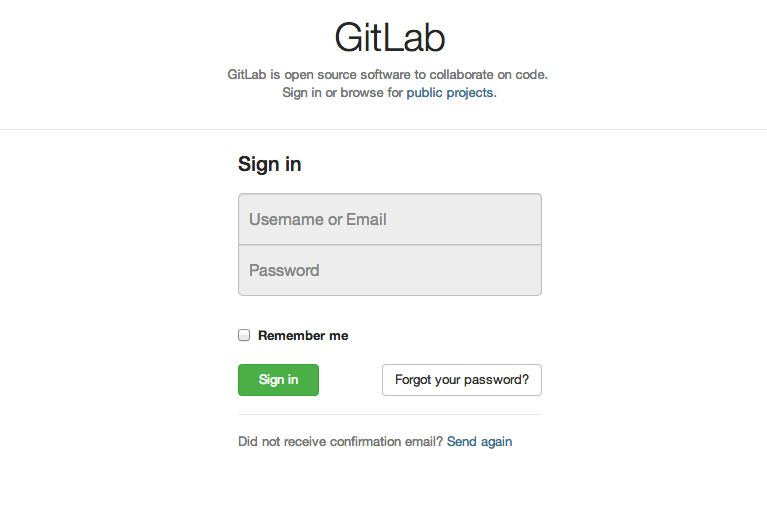
出来ました。それでログインできればインストール作業は完了します。
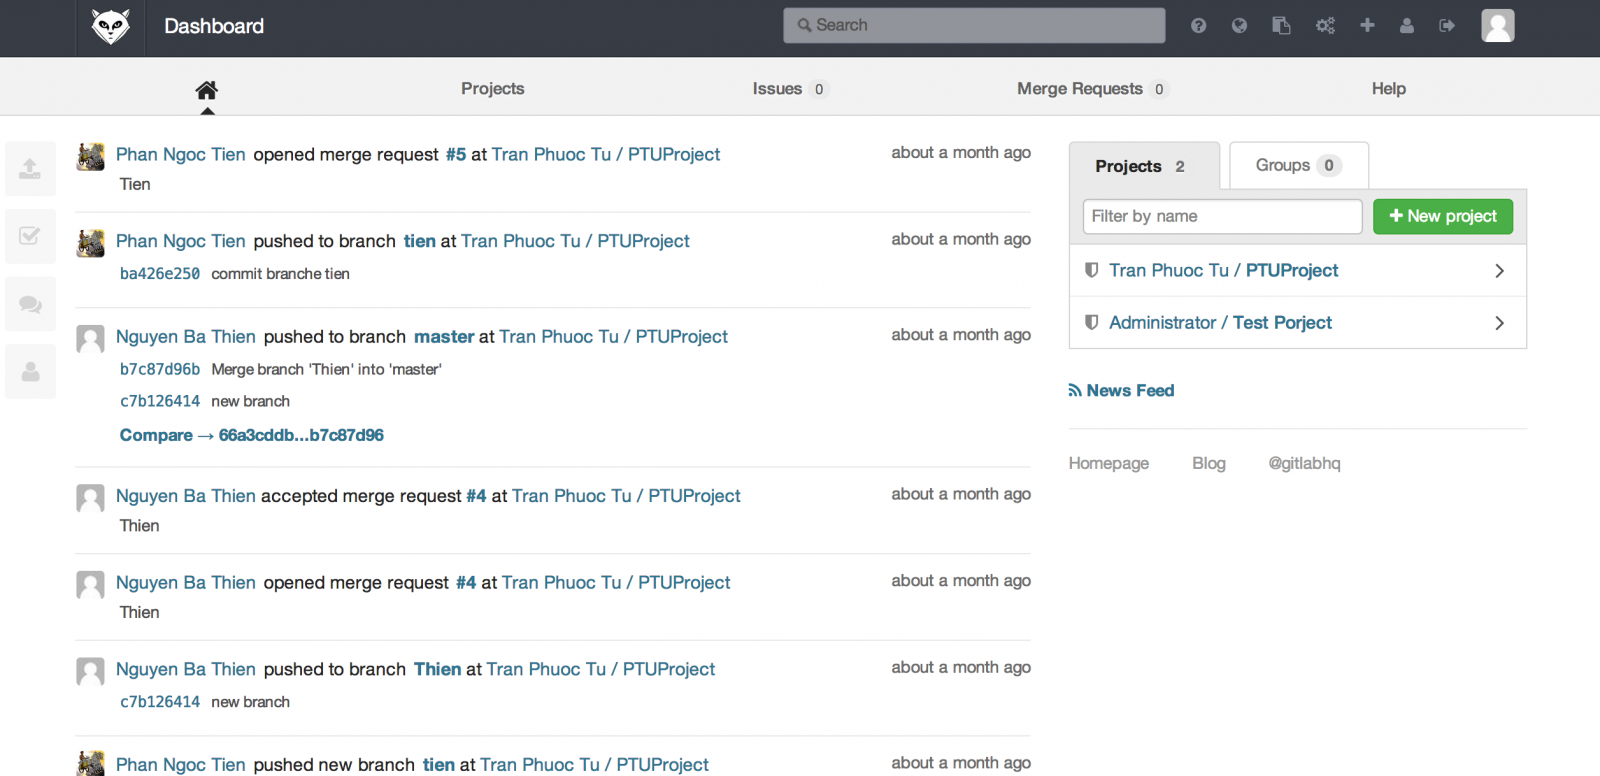
次回は実際GITLABを動かしてみるのとGITLAB-CIのインストール手順を書きます。またGITLAB-CIで実際PHPプロジェクトビルドまでの確認作業を見ていきます。
2 comments
I know this if off topic but I'm looking into starting my own weblog and was wondering what all is needed to get set up? I'm assuming having a blog like yours would cost a pretty penny? I'm not very web savvy so I'm not 100% positive. Any suggestions or advice would be greatly appreciated. Many thanks
Leave a Comment